
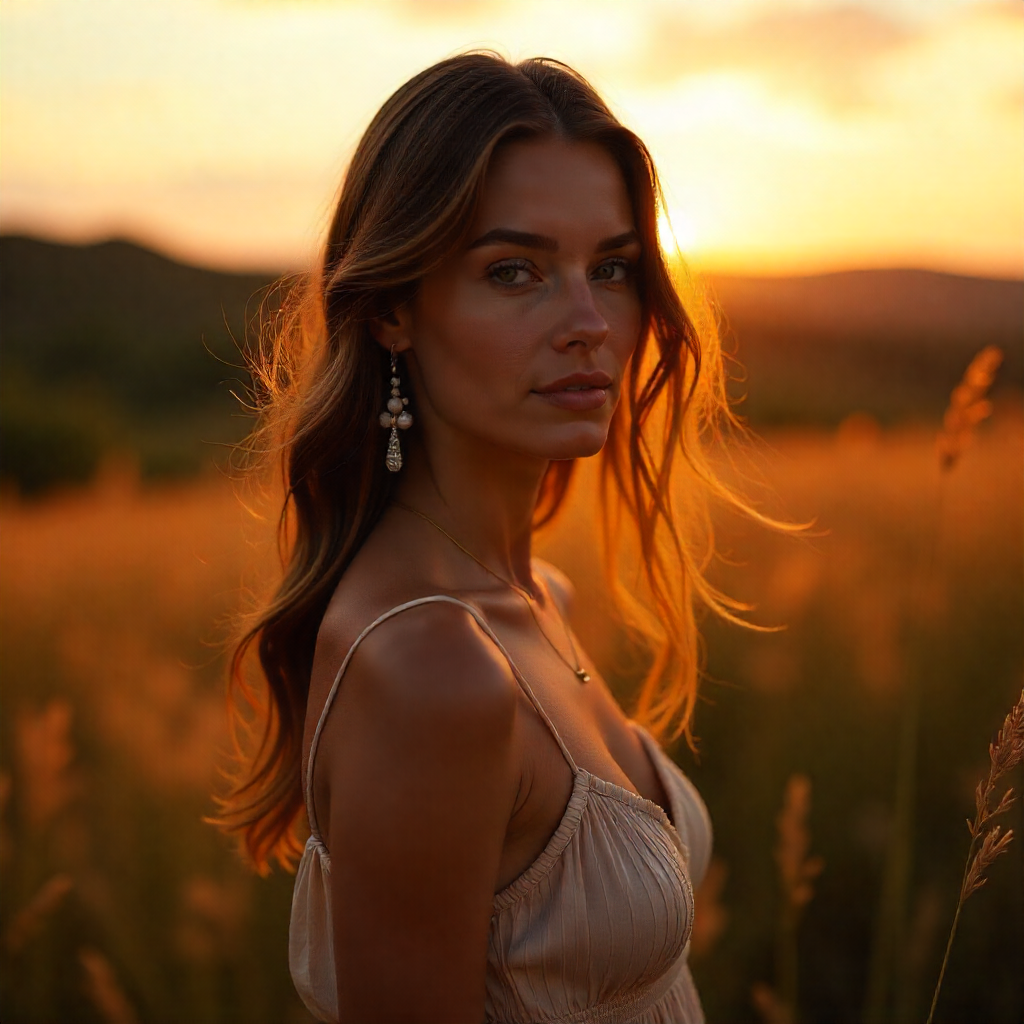
Sunset and sunrise are the superheroes’ time for any photographer. This period is known as the Golden Hour Photography, the best time to capture all types of shots. Learning how to leverage the warm hues of natural light during these two periods can enhance the overall quality of your photographic works. It can be pretty difficult to replicate the rich shallow depth of field during any other part of the day, so for any photographer, mastering the skills to use the golden hour light is a must.
Understanding and Using the Existing Golden Hour Light
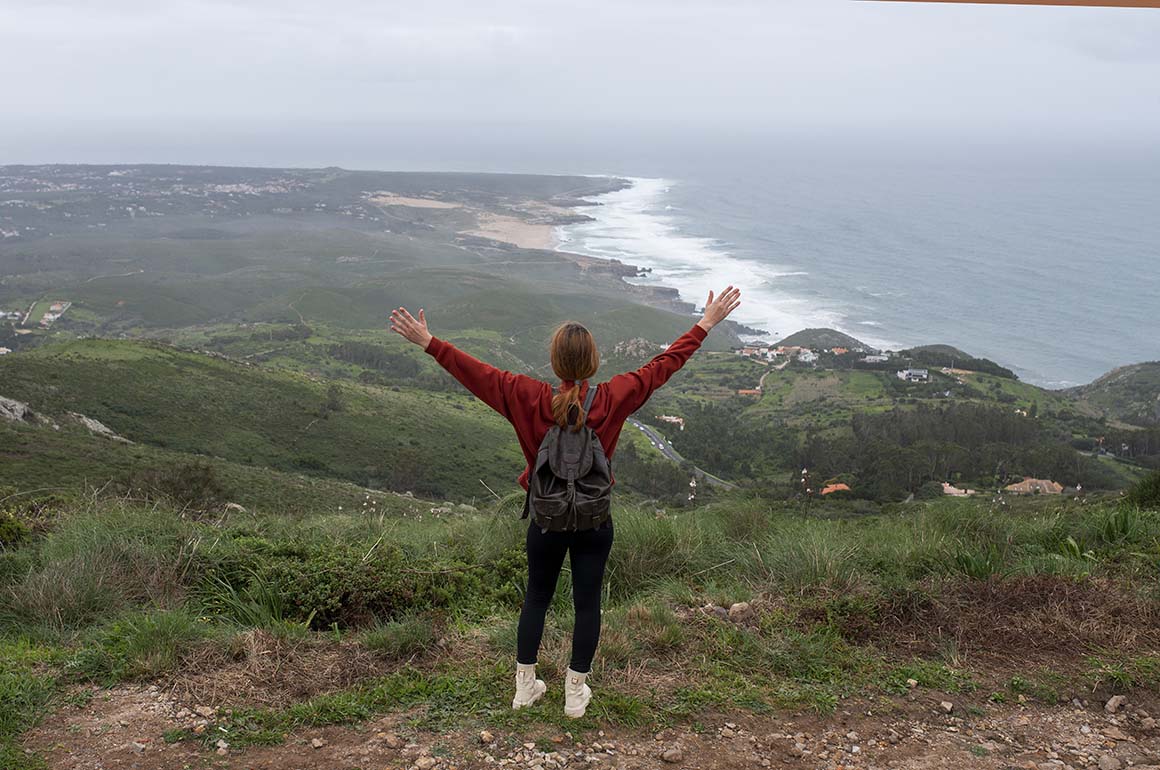
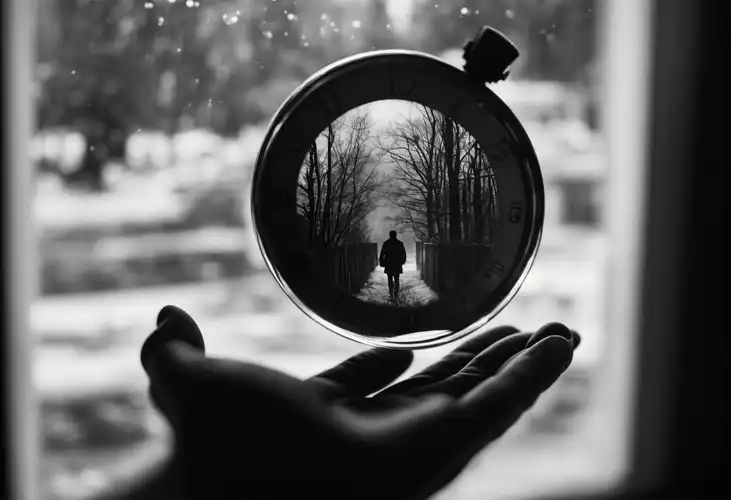
The golden hour is revered for its soft, diffused light that can dramatically improve the aesthetic quality of your photos. This natural light creates fewer harsh shadows, giving photos a warm, radiant glow. However, to capture this beauty, you must be prepared and make the most out of this fleeting period.
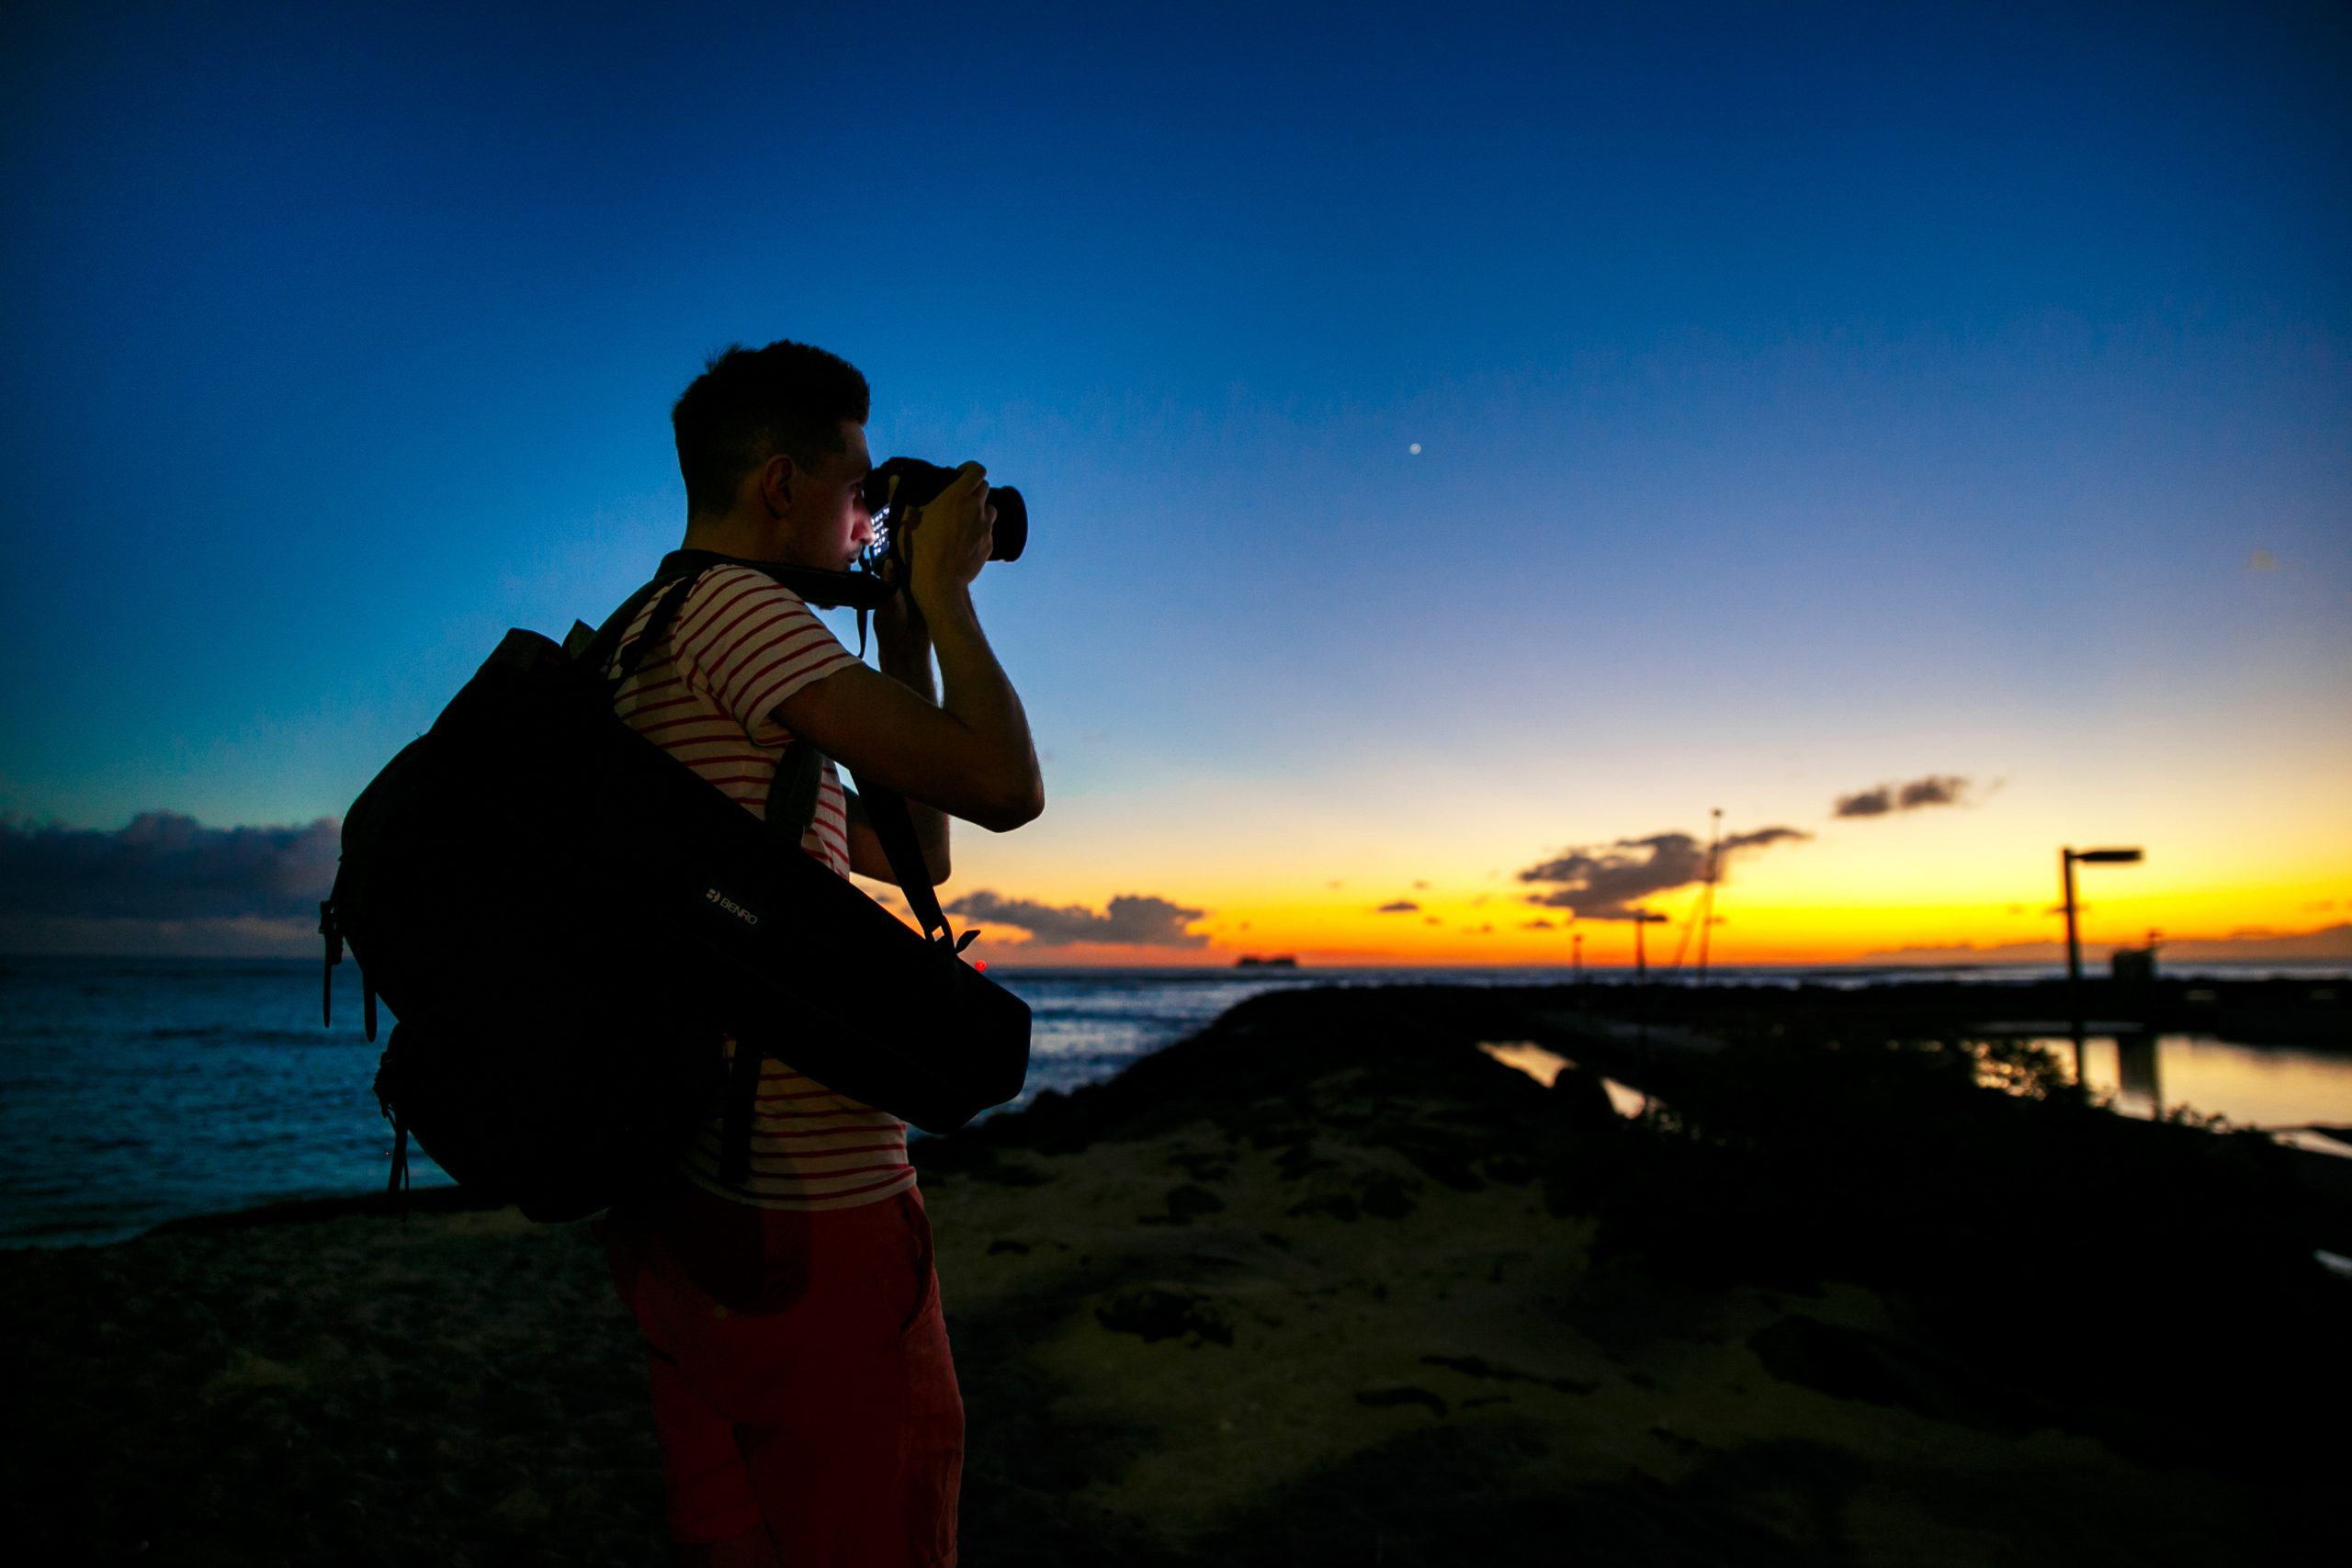
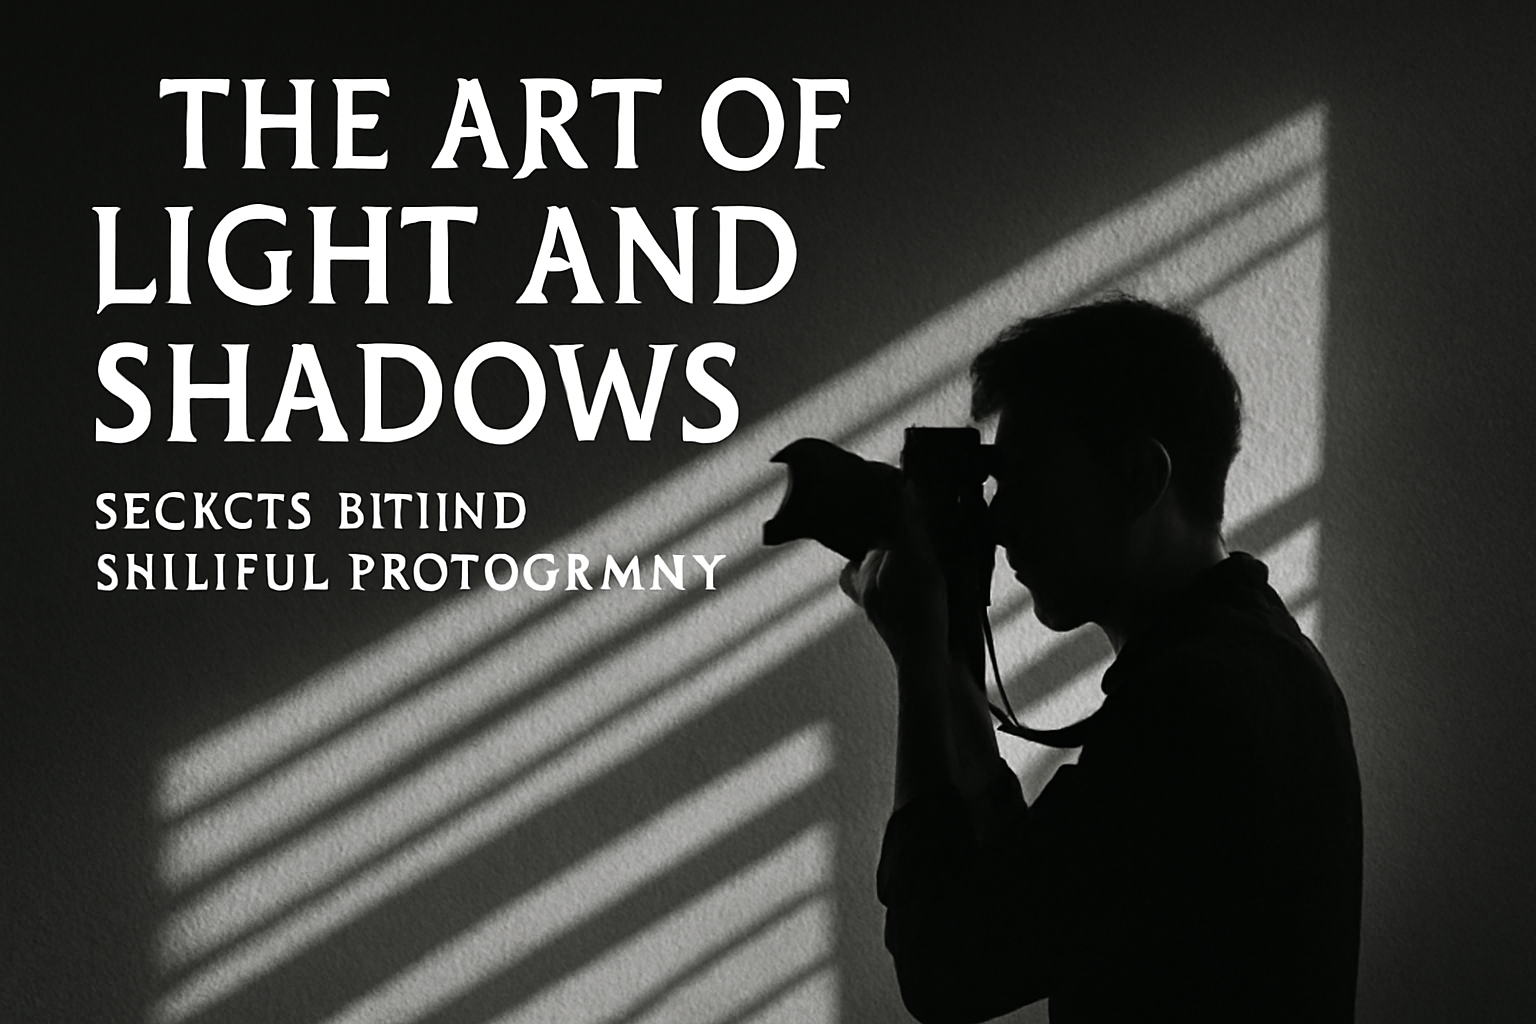
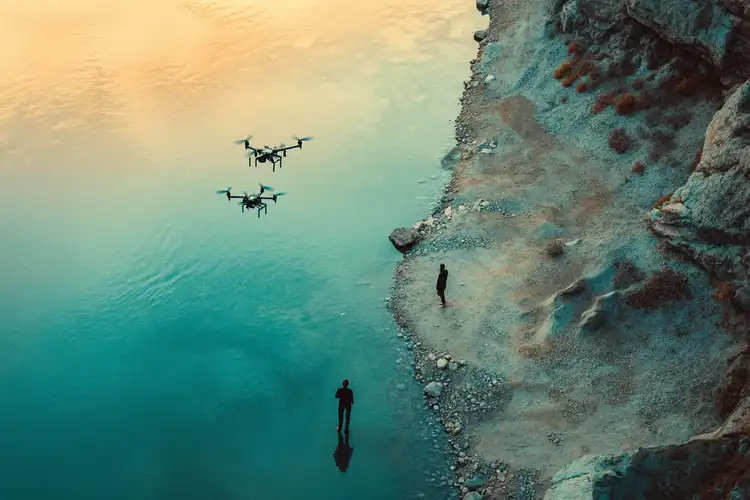
Photographer stands with a camera on shore with great evening sky behind him
Step 1: Know Your Time
The first step is to understand when the Golden Hour Photography occurs in your area. The golden hour happens roughly one hour after sunrise and one hour before sunset. However, the exact timing varies depending on your location and the time of year. To ensure you’re ready, use apps or websites that can give you the exact times for sunrise and sunset, such as Timeanddate.com or GoldenHour.One.
Step 2: Get Ready for the Scene
It’s not enough to know the time; you must also be aware of the setting. Whether you’re shooting landscapes, portraits, or street scenes, make sure you arrive early to set up and scout the location. The scene should be prepped, with attention to any possible obstacles or distractions in the background.
Step 3: Experiment with Angles and Lighting
One of the greatest advantages of the golden hour is that the light is incredibly versatile. By experimenting with different angles, you can change the way your photos look entirely.
-
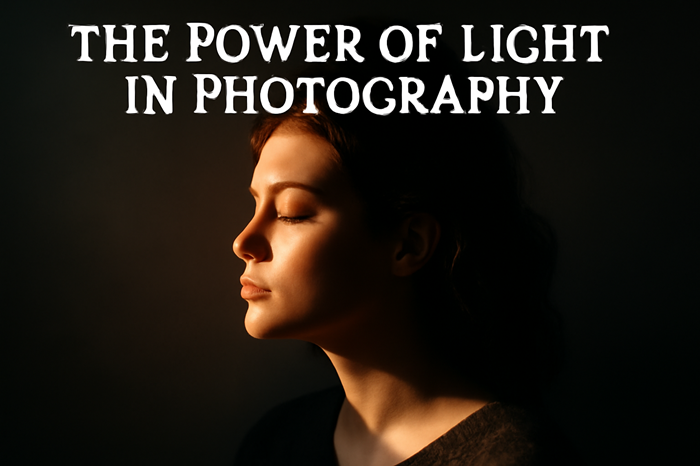
Front Lighting: When the sun is behind the subject, you get front lighting. This type of light evenly distributes the light onto the subject, resulting in a well-lit shot. It’s great for portraits where you want all features to be visible.
-
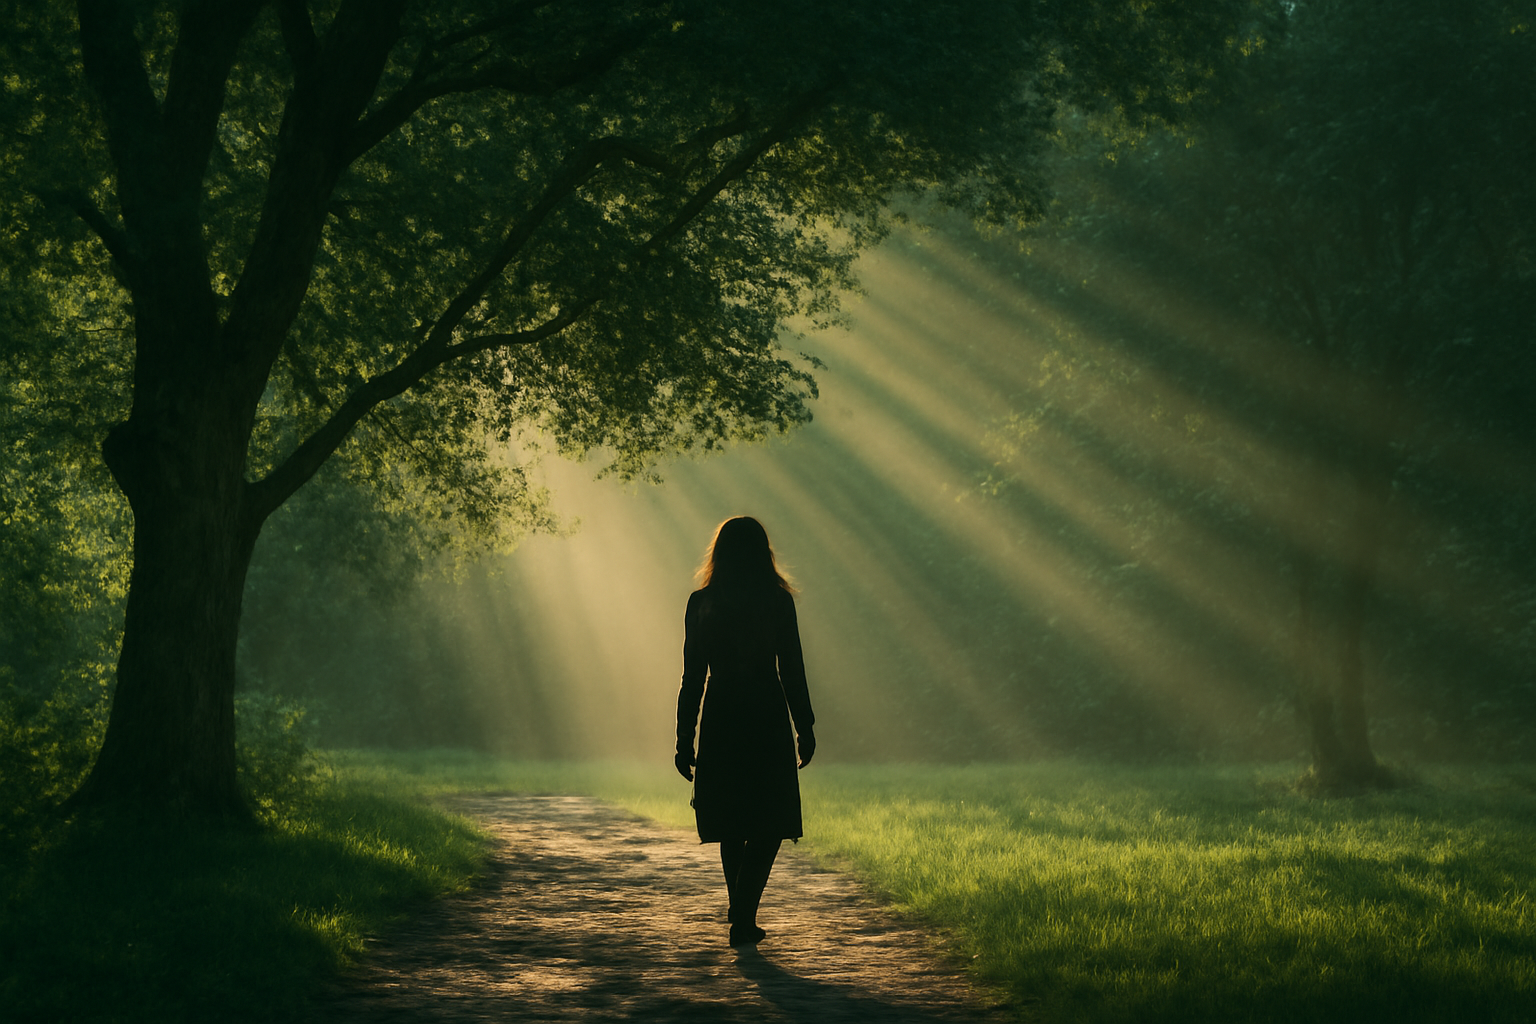
Backlighting: When the sun is in front of your subject, you’re creating backlighting. This can result in fascinating silhouettes, and if you position your subject correctly, it creates a halo-like effect around them. Backlighting is perfect for capturing dramatic, striking shots, especially during the sunset.
-
Side Lighting: Using the sunlight from the side of your subject adds texture and depth, making your image appear more dynamic. This is especially great for architecture, landscapes, and even portraits when you want to emphasize shadows and highlights.
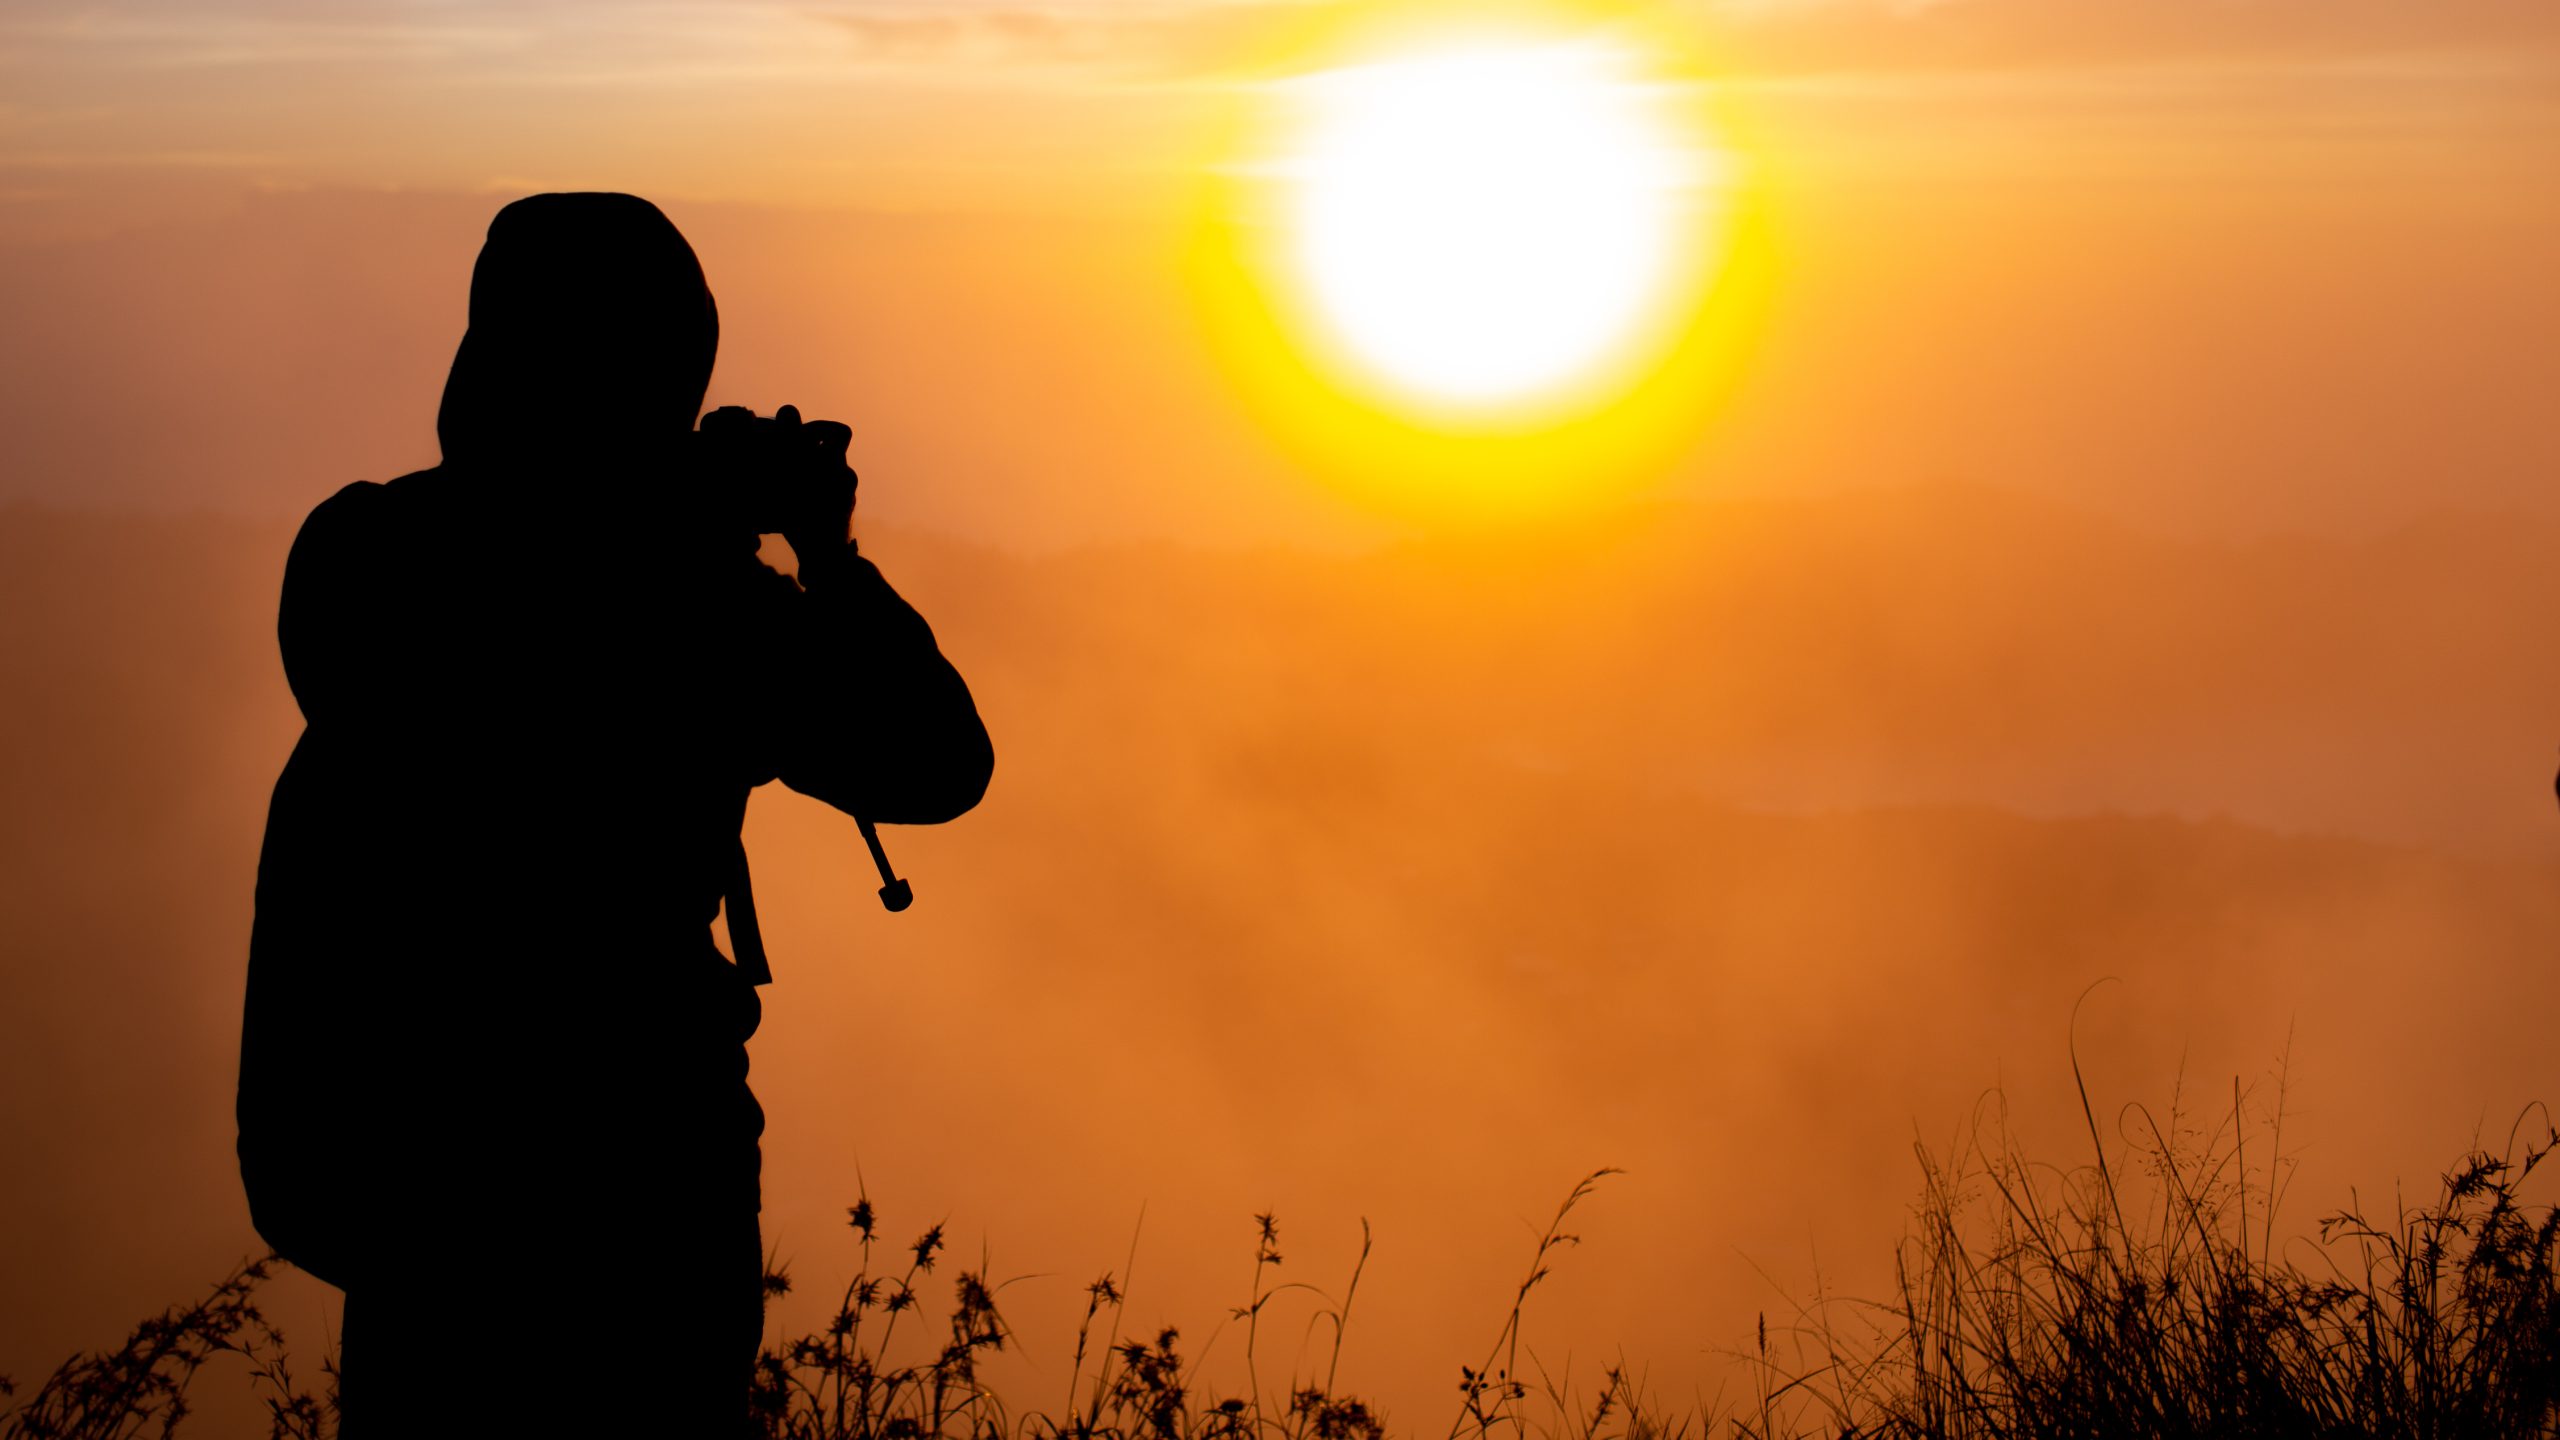
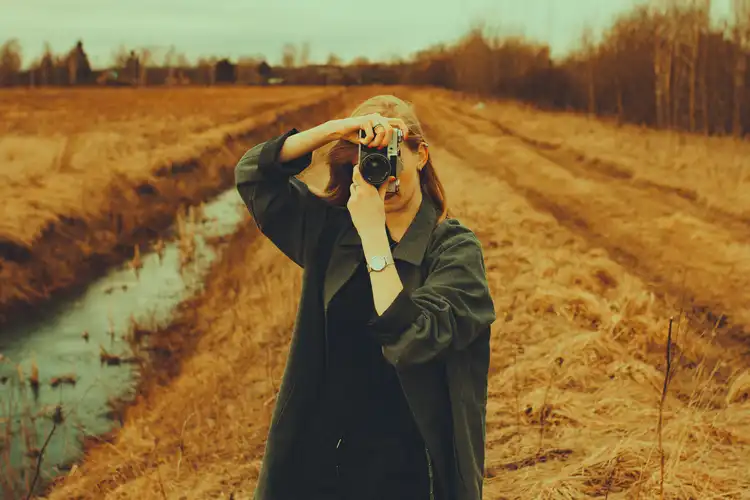
A photographer photographs the dawn of the sun on the volcano Batur. Bali Indonesia
Camera Settings for Golden Hour Photography
Photographers know that every hour of the day offers different lighting, and the golden hour is no exception. Adjusting your camera settings is crucial to fully take advantage of the warm, golden light.
Step 4: Lower Your Aperture
Aperture control is essential during the golden hour, especially for portrait photography. Lowering the aperture (such as f/1.8) lets in more light and helps create a shallow depth of field. This gives a soft, blurred background, making the subject stand out. If you’re photographing a landscape, however, you may want to use a higher f-number to keep more elements in focus.
Step 5: Adjust ISO and Shutter Speed
As the golden hour light changes rapidly, it’s essential to adjust your ISO and shutter speed accordingly. Lowering your ISO will reduce the noise in your image, while increasing your shutter speed will help avoid overexposure, especially as the sun dips lower.
-
ISO: Use a low ISO (e.g., 100-400) to avoid grainy images. However, if you’re shooting in low light after the sun has set, you may need to increase it.
-
Shutter Speed: Use a fast shutter speed to avoid motion blur, especially if the light is fading quickly. A faster shutter speed (e.g., 1/500 sec) will work well for capturing sharp images of moving subjects.
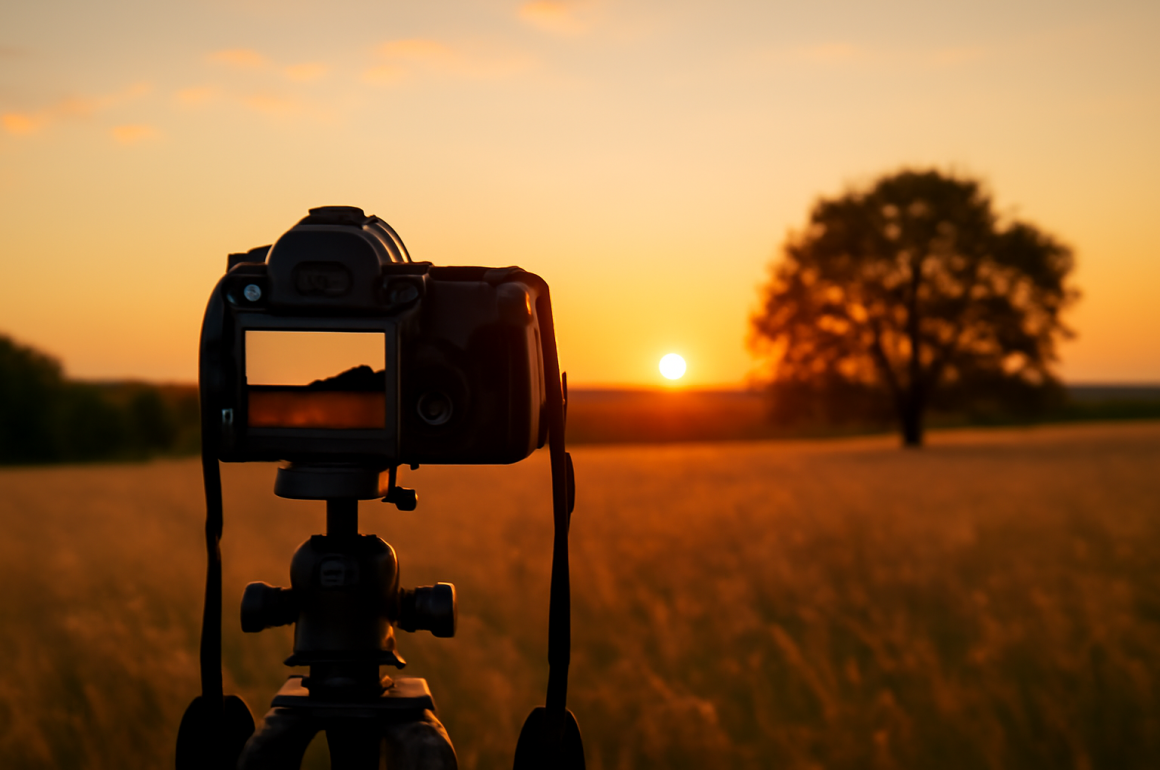
Step 6: Use a Tripod for Stability
For some golden hour shots, especially when the light is weaker, you’ll need longer exposures. In this case, a tripod is crucial for keeping your camera steady and ensuring sharp images. Without a tripod, your photos may appear blurry, even with faster shutter speeds, especially in low-light conditions.
Additional Tips for Capturing Stunning Golden Hour Photos
The golden hour may be brief, but with the right tools and techniques, you can maximize your time and get incredible shots. Here are some additional tips to help you elevate your golden hour photography.
Step 7: Shoot in RAW Format
One of the best ways to ensure your photos remain flexible during post-processing is by shooting in RAW format. Unlike JPEG, RAW images retain more detail, which is crucial for adjusting exposure, white balance, and even recovering highlights or shadows. This ensures your golden hour photos look as perfect as possible after editing.
Step 8: shooting landscapes
After the sun has set, the sky can still hold beautiful, soft colors. The blues, purples, and pinks that emerge post-sunset or pre-sunrise can provide stunning backdrops for your landscape or portrait shots. Always look up and experiment with incorporating the sky into your compositions.
Step 9: Use Reflectors and Filters
-
Reflectors: When shooting portraits, a reflector is an excellent tool for bouncing light onto the subject’s face. This helps fill in shadows and can make the photo appear more balanced, especially if the subject is facing the sun.
-
Neutral Density Filters: These filters can help balance the exposure between bright skies and darker foregrounds. It evens out the light so you can get a well-exposed photo without losing details in either the bright or dark areas.
Step 10: Be Fast and Take Multiple Shots
Golden Hour Photography light changes quickly, so it’s important to shoot continuously. Keep taking shots, as the lighting conditions shift. Don’t worry about perfecting each shot immediately—take several variations of the same scene to ensure you capture the best moment.
Conclusion
The Golden Hour Photography offers a unique opportunity for photographers to capture stunning, warm, and soft light that enhances the overall look of their images. With careful planning, experimentation, and a few adjustments to your camera settings, you can take full advantage of this magical time of day. Whether you’re shooting portraits, landscapes, or street scenes, the golden hour’s light is sure to add beauty and depth to your photographs. Mastering the techniques to use this natural light will elevate your photography and give your photos that magical, golden touch.


 Welcome to this vibrant corner of the internet—"Dreamy Grace!" This lifestyle blog is a space for inspiration, creativity, and connection. Feel free to explore, engage, and share your thoughts—after all, this blog is just as much yours as it is ours. Happy reading!